Chemical anchor is a fairly new material in the construction market, but it has already become a favorite fastener of many craftsmen. After all, using high-quality chemical. the anchor and using it correctly, the strength and durability of the structure will serve for many, many years. In this article, we offer to get acquainted in more detail with the nuances and stages when working with a chemical anchor.
 What is a chemical anchor?
Chemical anchor is an improved version of fastening various elements in construction and repair, which is made on the basis of synthetic resin.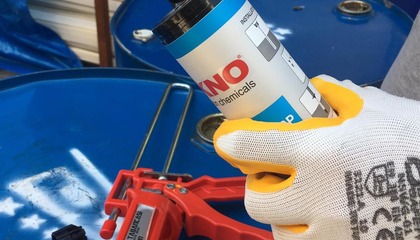
What is a chemical anchor for?
Chemical anchor is used for gluing various building materials, for fixing all kinds of fasteners, for example, bolts and pins, as well as injection packers, in addition, with the help of this material, fittings can be installed.
What is the composition of the chemical anchor?
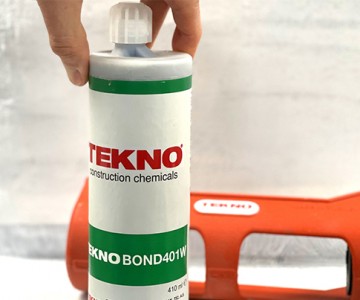
Chemical anchors most often consist of two components that are connected directly by pressing the cartridge when applied to the surface.
The main component of the chemical anchor is artificial resin, which is produced on the basis of polyesters or acrylic. In addition to resin, the composition includes various fillers to make it resistant to aggressive environments, chemicals, prevent corrosion, etc., as well as special substances to accelerate the solidification process of the material.
Are there any disadvantages when using a chemical anchor?
Since a chemical anchor is a material created on the basis of synthetic resins, it is harmful to health, therefore, when using it indoors, you need to ventilate it very well.
Also, the chemical anchor begins to set fast enough, for example, after 7 minutes after applying the Teknobond 400P material, it will be difficult to fix something, so you need to work with it quickly and very carefully.
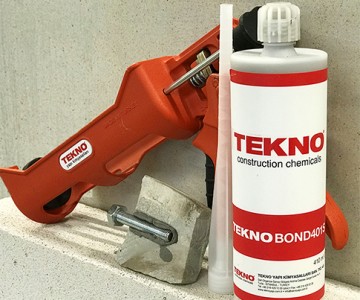
What devices are needed when using a chemical anchor?
To use a chemical anchor, you will need:
- Puncher;
- Round Wire Brush;
- Compressed air;
- Anchor dowels (when working with hollow material);
- Extension cord (when working with deep holes);
- Mechanical gun (when working on large objects).
Step-by-step instructions for the use of a chemical anchor
 Using a hammer drill, we drill a hole with the required diameter and depth.
First, we clean the drilled hole with a round wire brush, then with compressed air. The surface on which the chemical anchor will be applied must be perfectly clean and durable to obtain a high level of adhesion and fastening strength.
We insert a cartridge with a chemical anchor into the gun and fix it.
Turn the cartridge cover and install the tip of the static mixer. - 420.jpg)
We do not use the first 10 cm of the material, since the two components of the chemical anchor must be evenly connected.
Fill the hole very slowly, holding the trigger of the gun. We try not to leave air gaps.
Insert the fastener into the filled hole.
We are waiting for the material to dry completely and boldly load our fasteners.